Homemade Peanut Butter Cups with Dates
Uitgelicht onder: Moderne Bakfavorieten
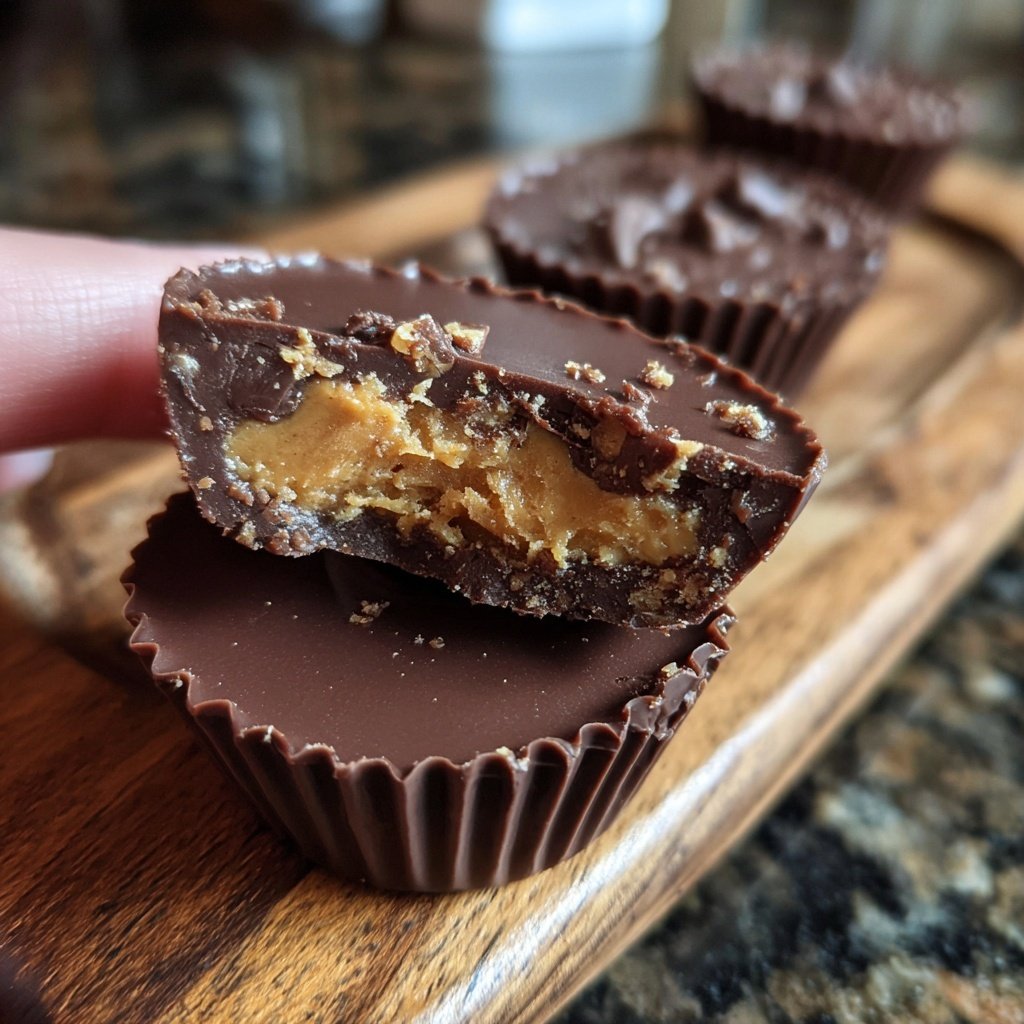
I love making these Homemade Peanut Butter Cups with Dates because they strike the perfect balance between indulgence and healthiness. Using natural ingredients, like creamy peanut butter and sweet dates, makes these treats not only delicious but also nutritious. The process is simple yet rewarding, and I always feel proud when I see them beautifully presented on my dessert table. Plus, they satisfy those sweet cravings without the guilt, making them a favorite in our house.
When I first attempted making peanut butter cups with dates, I had no idea how delicious they could turn out. Combining natural sweetness from the dates with rich peanut butter made for an amazing treat. The first time I served these at a gathering, they were gone in minutes!
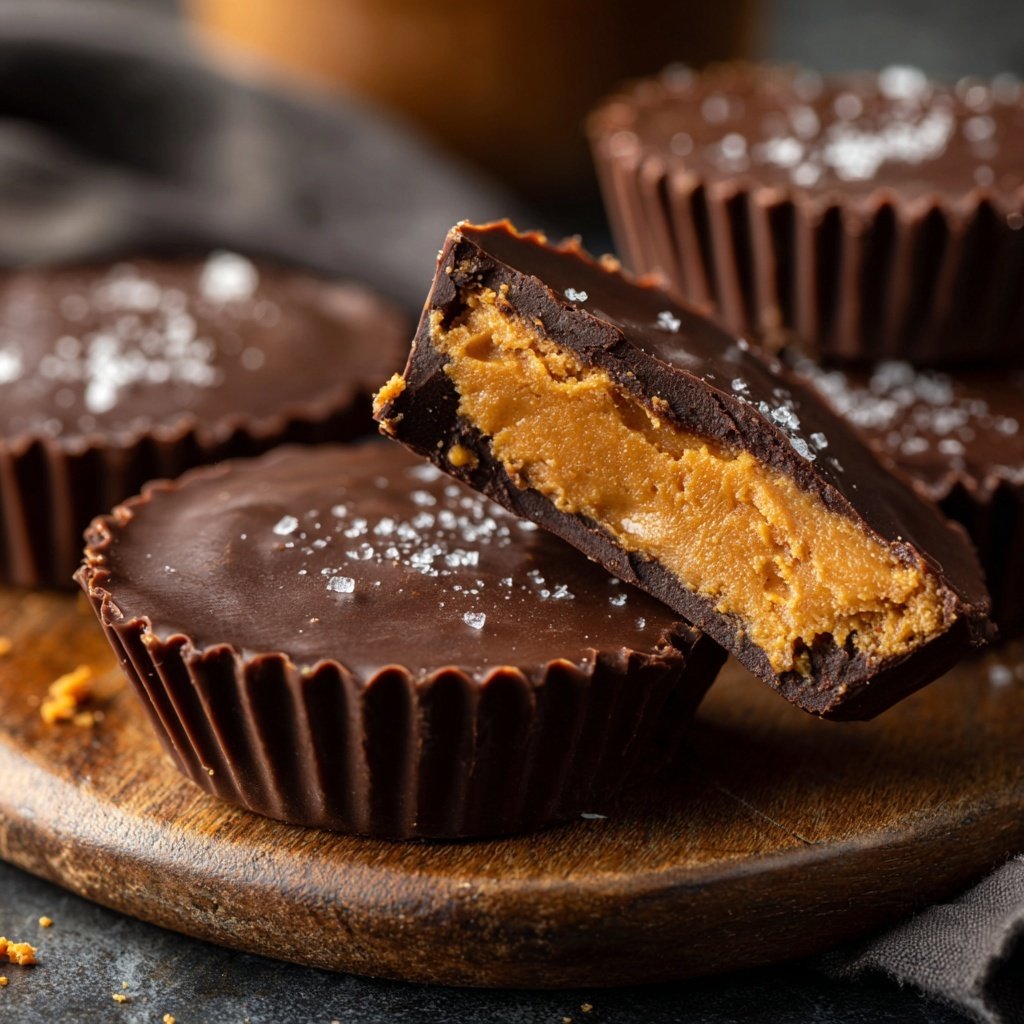
One tip that really helped me was to ensure the chocolate coating is tempered properly; it results in a lovely shine and a satisfying snap when bitten into. Trust me, this simple step elevates these cups from homemade to gourmet!
Why You'll Love These Homemade Peanut Butter Cups
- Rich peanut butter flavor melded with the sweetness of dates
- Quick and easy recipe you can whip up anytime
- Perfect for sharing with friends or as an everyday treat
Understanding the Ingredients
The star of our Homemade Peanut Butter Cups is, of course, the creamy peanut butter. Opt for a natural, unsweetened variety to avoid added sugars, which allows the natural sweetness of the dates to shine through. This will not only keep the cups healthier but also enhance the rich, nutty flavor that pairs wonderfully with chocolate.
Pitted dates serve as a natural sweetener and binding agent in this recipe. Their caramel-like taste adds depth, making the cups rich without the need for additional sugars. If you prefer, Medjool dates offer a slightly sweeter taste and are soft and easy to blend, but make sure to remove the pits to ensure a smooth consistency.
Perfecting the Chocolate Layer
When melting the dark chocolate chips, it’s crucial to do so in short intervals. Overheating can cause the chocolate to seize, losing its silky texture. Stir after each interval until you achieve a glossy finish that flows smoothly. If you notice the chocolate becoming too thick, a teaspoon of coconut oil can help restore its consistency while adding a hint of coconut flavor.
To achieve a perfectly sealed cup, make sure each layer of chocolate covers the filling completely. You can create a delightful texture contrast by swirling a little bit of the peanut butter and date mixture into the melted chocolate before adding layers. This technique not only enhances visual appeal but also offers a surprising burst of flavor with each bite.
Ingrediënten
Gather the following ingredients to get started:
Ingredients
- 1 cup creamy peanut butter
- ½ cup pitted dates
- 1 cup dark chocolate chips
- 2 tablespoons coconut oil
- Tiny pinch of salt
Ensure all ingredients are measured out to make the process smooth and easy!
Bereidingswijze
Follow these steps carefully for the best results:
Prepare the Dates
In a food processor, combine the pitted dates and a tiny pinch of salt until they form a smooth paste. If the mixture is too thick, you can add a drop of water to help blend it.
Combine Peanut Butter and Dates
In a mixing bowl, add the creamy peanut butter to the date paste. Mix thoroughly until well combined and smooth.
Melt the Chocolate
In a microwave-safe bowl, melt the dark chocolate chips with coconut oil in 30-second intervals, stirring in between until fully melted and smooth.
Form the Cups
Line a cupcake tin with paper liners. Pour a small amount of melted chocolate into each liner, followed by a layer of the peanut butter and date mixture. Top with more chocolate to seal, ensuring that the filling is completely covered.
Chill and Serve
Refrigerate for at least 1 hour or until the chocolate is set. Once firm, remove from the liners and enjoy your homemade peanut butter cups!
Enjoy your delicious and healthy treats!
Professionele Tips
- Feel free to customize your peanut butter cups by adding in chopped nuts or a sprinkle of sea salt on top before chilling.
Storage and Shelf Life
These Homemade Peanut Butter Cups are perfect for meal prep and can be stored in an airtight container in the refrigerator for up to two weeks. For longer storage, consider freezing them. Wrap each cup individually in plastic wrap and place them in a freezer-safe container. They can last up to three months in the freezer, making them a perfect grab-and-go snack.
When ready to enjoy, simply take them out and allow them to thaw at room temperature for about 15 minutes. This will ensure they soften slightly and regain their luscious texture before biting into them. Avoid microwaving, as it can alter the chocolate’s integrity and texture.
Variations and Customizations
Feel free to experiment with different nut butters if you're looking for variations. Almond, cashew, or sunflower seed butter can all make excellent substitutes for peanut butter, each imparting its unique flavor profile. If you’re going for a nut-free version, sunflower seed butter is particularly tasty and allergy-friendly.
For a hint of added flavor, mix in vanilla extract or a pinch of cinnamon into the peanut butter and date layer. Adding a sprinkle of sea salt on top before chilling can enhance the overall taste, balancing the sweetness with a savory contrast. You can also incorporate crunchy elements like crushed nuts or puffed rice into the filling for extra texture.
Vragen Over Recepten
→ Can I use a different nut butter?
Absolutely! Almond butter or cashew butter can be great alternatives.
→ How should I store these peanut butter cups?
Keep them in an airtight container in the refrigerator for up to a week.
→ Are these suitable for vegans?
Yes, as long as you use dairy-free chocolate. They're suitable for a vegan diet.
→ Can I freeze the peanut butter cups?
Yes, you can freeze them for up to 3 months. Just separate layers with parchment paper.
Homemade Peanut Butter Cups with Dates
Gemaakt door: Marlowe Sinclair
Recepttype: Moderne Bakfavorieten
Vaardigheidsniveau: Easy
Eindportie: 12 cups
Wat je Nodig Hebt
Ingredients
- 1 cup creamy peanut butter
- ½ cup pitted dates
- 1 cup dark chocolate chips
- 2 tablespoons coconut oil
- Tiny pinch of salt
Stappen
In a food processor, combine the pitted dates and a tiny pinch of salt until they form a smooth paste. If the mixture is too thick, you can add a drop of water to help blend it.
In a mixing bowl, add the creamy peanut butter to the date paste. Mix thoroughly until well combined and smooth.
In a microwave-safe bowl, melt the dark chocolate chips with coconut oil in 30-second intervals, stirring in between until fully melted and smooth.
Line a cupcake tin with paper liners. Pour a small amount of melted chocolate into each liner, followed by a layer of the peanut butter and date mixture. Top with more chocolate to seal, ensuring that the filling is completely covered.
Refrigerate for at least 1 hour or until the chocolate is set. Once firm, remove from the liners and enjoy your homemade peanut butter cups!
Extra Tips
- Feel free to customize your peanut butter cups by adding in chopped nuts or a sprinkle of sea salt on top before chilling.
Voedingswaarde (Per Portie)
- Calories: 180 kcal
- Total Fat: 12g
- Saturated Fat: 4g
- Cholesterol: 0mg
- Sodium: 50mg
- Total Carbohydrates: 18g
- Dietary Fiber: 2g
- Sugars: 11g
- Protein: 4g